Walkthrough: Proxmox Post Installation Setup

This is the 3rd article of the series on Proxmox. The previous 2 articles introduced Proxmox and guided you through a typical installation. Here, I will go over the Proxmox Virtual Environment GUI and post installation steps.
Proxmox GUI
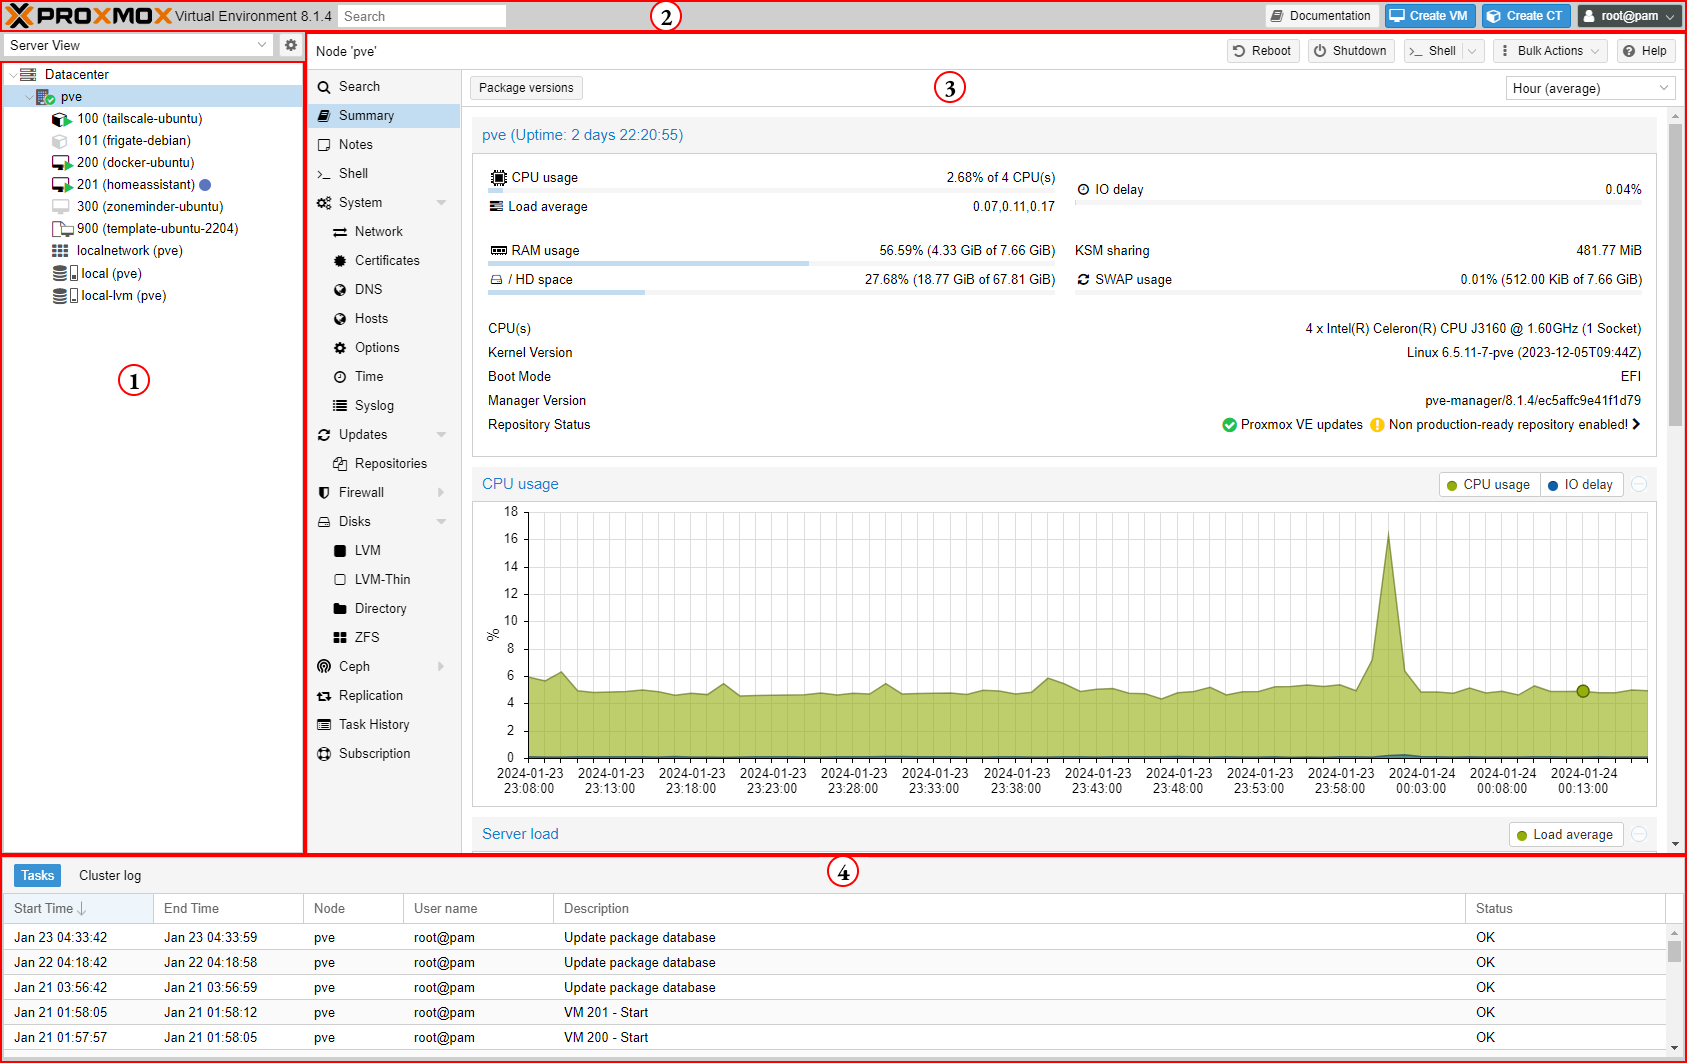
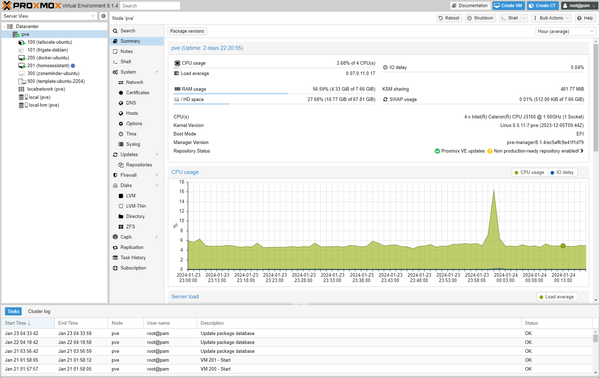
Here is what the Proxmox VE GUI looks like when you first sign in. It is divided into 4 main regions.
(1) Resource Tree - the Server View is the default view and shows LXCs, VMs, storage pools, networks, grouped by the servers that are hosting them.
(2) Header - this area provides quick access to Documentation, Create VM, Create CT, and the User Menu
(3) Content Panel - this panel will change based on what resource is selected in the Resource Tree. It is currently showing a Summary of the PVE server.
(4) Log Panel - this panel tracks all tasks happening on the cluster. If the task has completed, the status will be shown as well.
More information can be found on Proxmox's Official Wiki.
Post Install Scripts
Know that we have a better understanding about how to navigate the Proxmox VE GUI, we should run the some Post Install Scripts to help with some housekeeping.
tteck has some great helper scripts for a Proxmox-based Homelab. For now we will only need to run the Proxmox VE Post Install script from tteck's website. To run this script, click on PVE in the Resource Tree, then navigate to the >_ Console within the Content Panel, log in with your root credentials, and run the below command within the terminal.
bash -c "$(wget -qLO - https://github.com/tteck/Proxmox/raw/main/misc/post-pve-install.sh)"
ID Schema
Although defining an ID schema for LXC containers and VMs isn't necessary, it will keep our Proxmox server more organized and easier to determine what is running on our server.
| VM/CT ID | Purpose |
|---|---|
| 100 | LXE |
| 200 | VM |
| 300 | Test |
| 400 | Other |
| 900 | Templates |