Walkthrough: Proxmox Installation

In my last post, I introduced the Proxmox Virtual Enviornment (PVE) and the Protectli Vault FW4B hardware. In this post, I'll take a more detailed look on how to setup Proxmox from scratch.
Installation
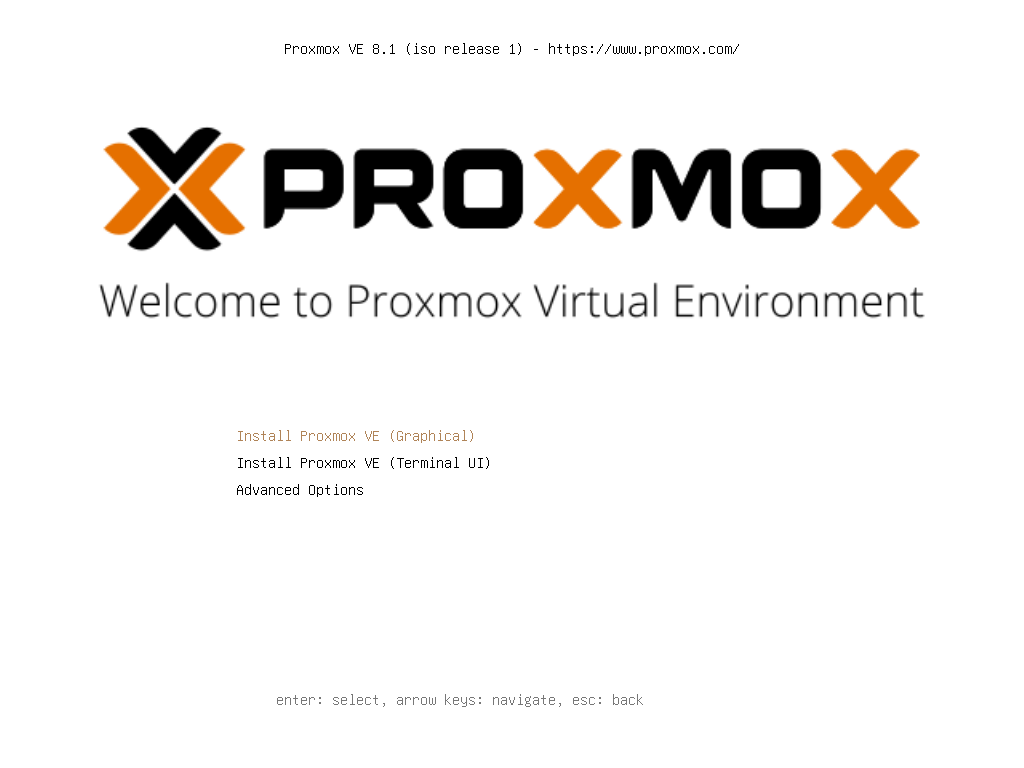
To install, first grab the latest Proxmox VE ISO from the Proxmox download page and create a bootable USB with a tool such as Balena Etcher. When it's ready, boot the target host with this USB drive. You will be greeted with an installation screen. Press Enter to select the Graphical installation.
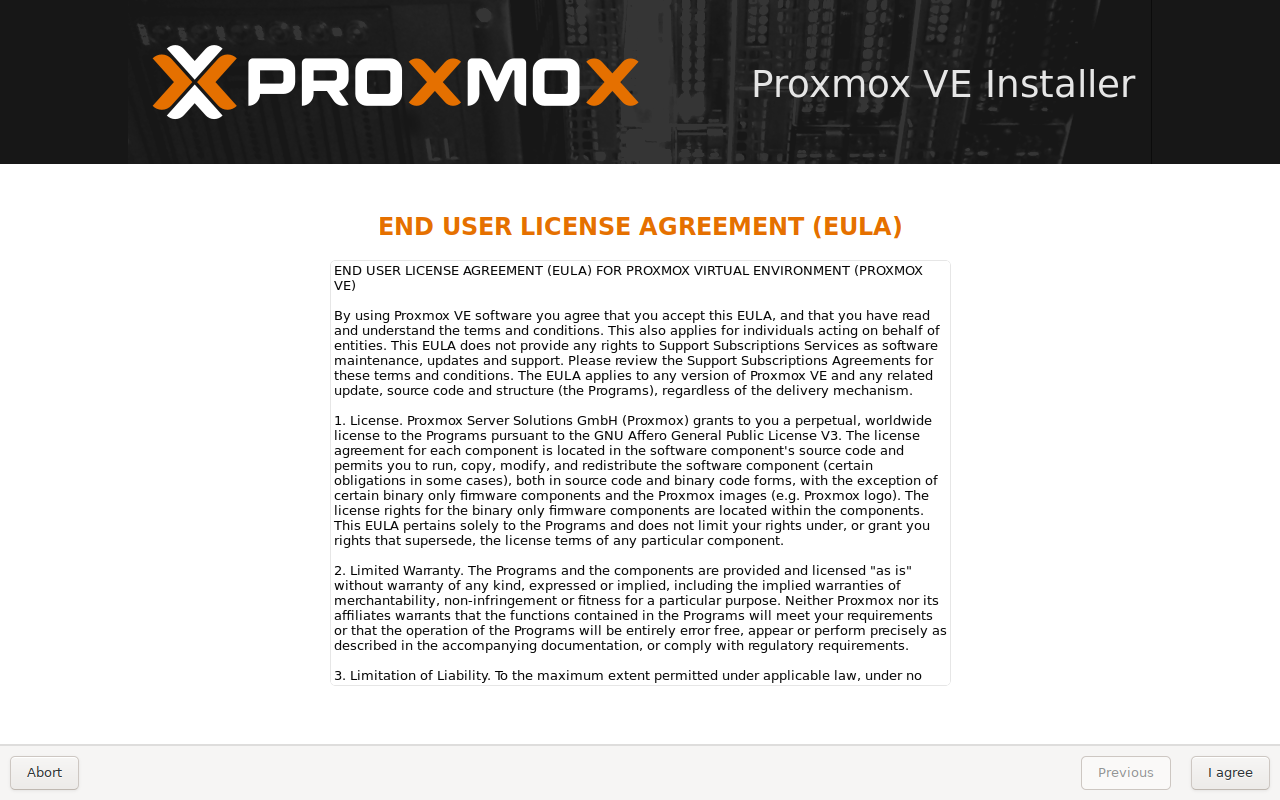
Review and accept the EULA.
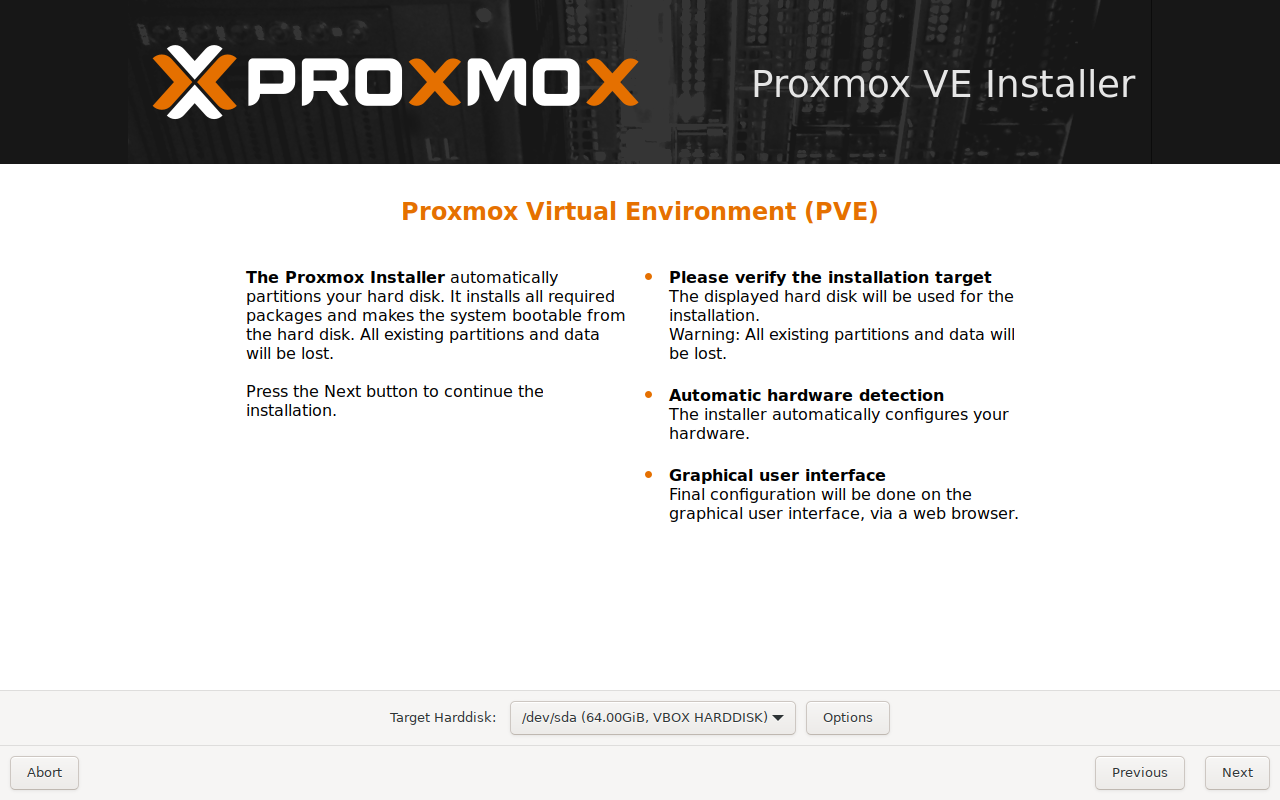
If you have a separate target hard drive or solid state drive, select it here. You can also change the filesystem type (the default is EXT4) under Options but I will keep the defaults here. Once you have made your choices, click Next.
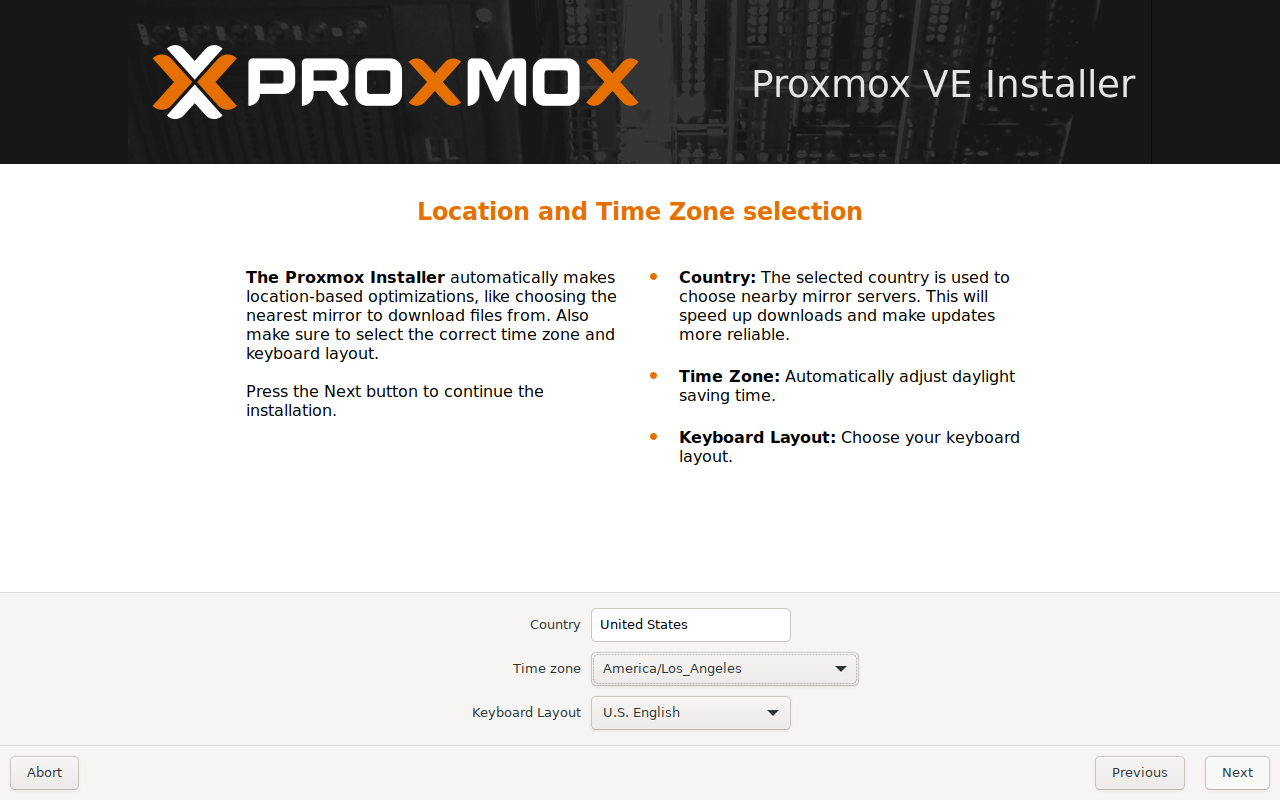
The next page sets the localization options for the host. Update based on where you are and click Next.
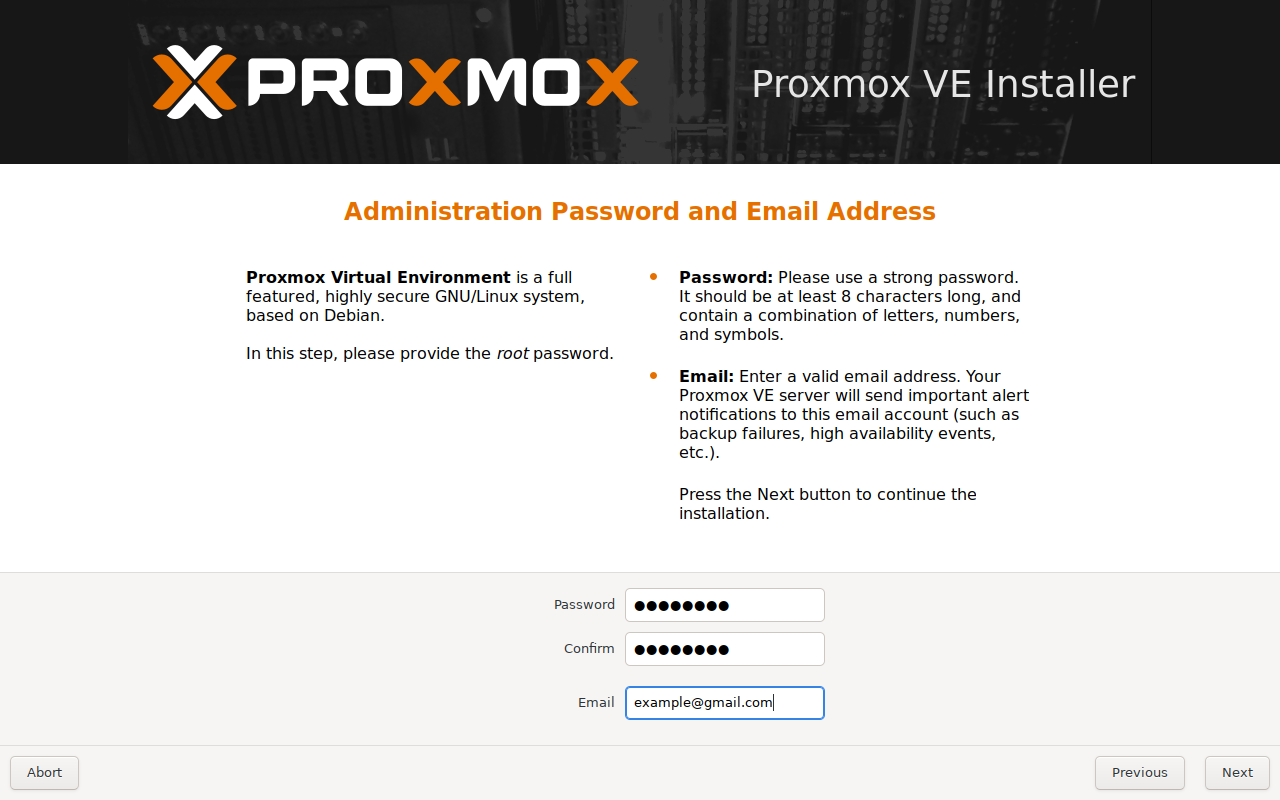
On the Administration and Password page, input your email and password. Please keep this password safe because it'll be needed to log into the server after the installation. Please note that on the log in screen after installation, the username is root and not your email.
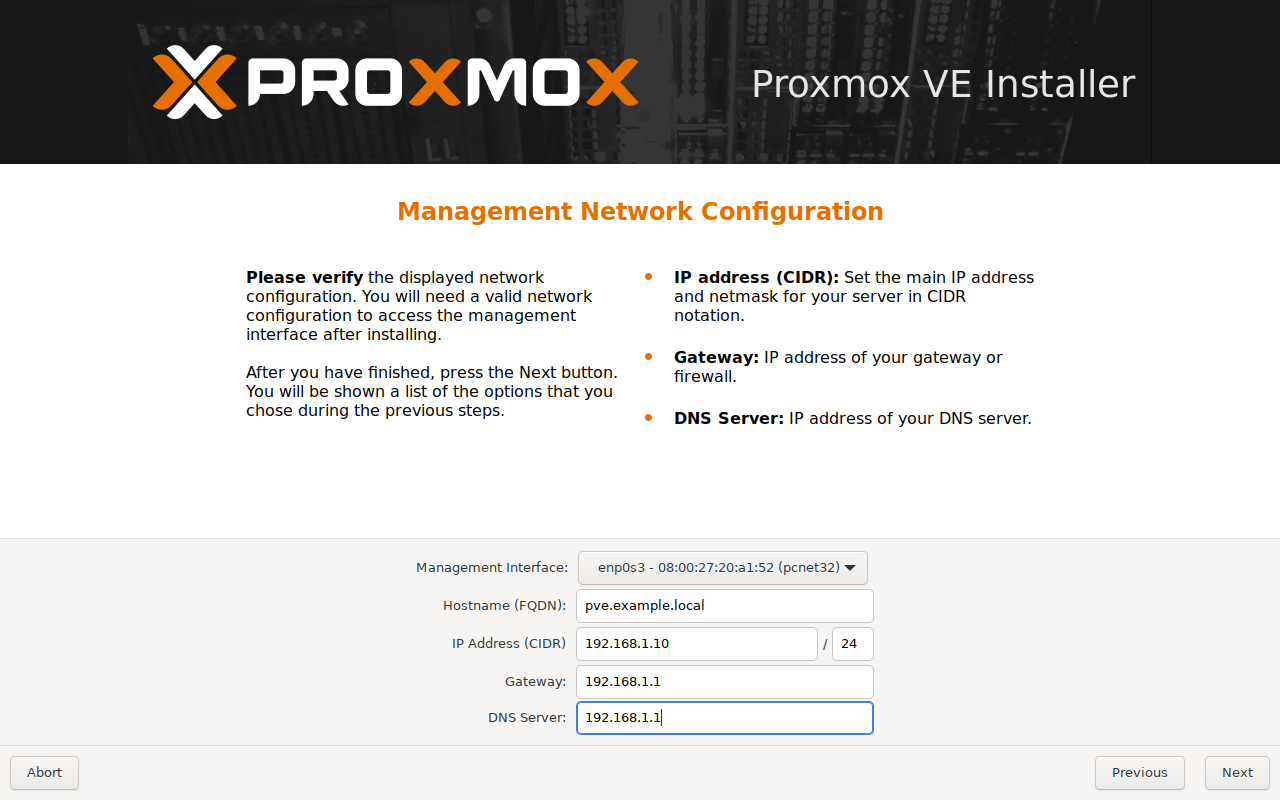
On the Management Network Configuration page, you will configure the host's network! Proxmox works best on a hardwired ethernet connection. Check that the Management Interface has an ethernet interface (instead of wifi one) selected. The Hostname requires a Fully Qualified Domain Name (FQDN). I plan to use this locally so I won't use a registered domain. Instead, something like pve.example.local where pve is the hostname and example can be changed to anything you choose. It won't affect the installation. The IP Address (CIDR) needs to be a static IP address. In this case, I set it to 192.168.1.10. If you're confused about the /24, this is the Classless Inter-Domain Routing (CIDR) and affects what is visible to the server. You can leave this as the default. If you're hosting Proxmox at home, your router will generally act as both the Gateway and DNS Server and should reflect the router's IP.
The next page is a Summary page. Confirm everything looks correct and click Install.

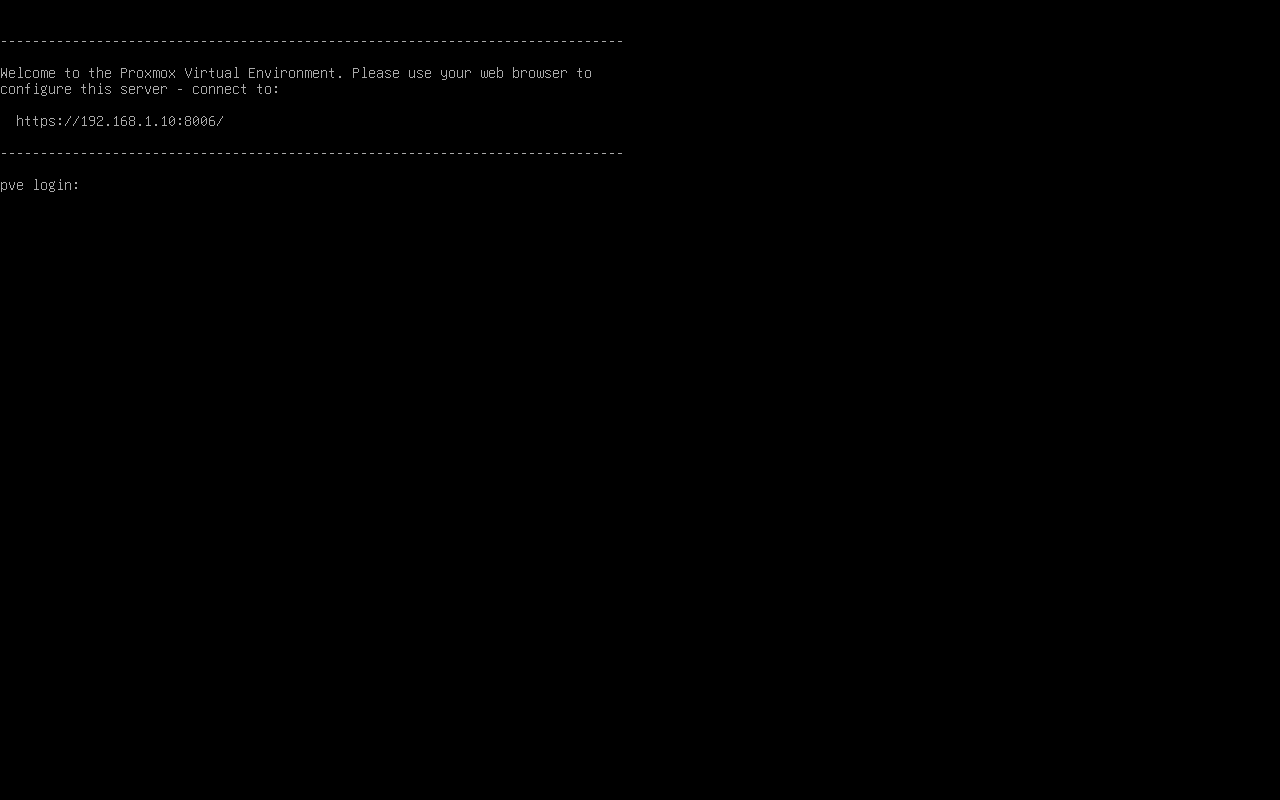
The host will now reboot. If everything is successful, you will see this login screen! At this point you can switch over to the web GUI that is hosted on the URL shown on the screen (e.g. https://192.168.1.10:8006).
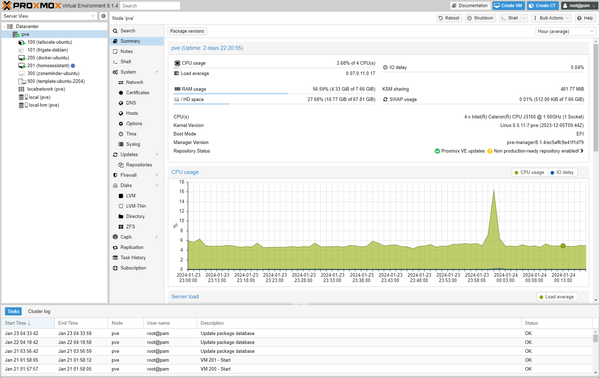
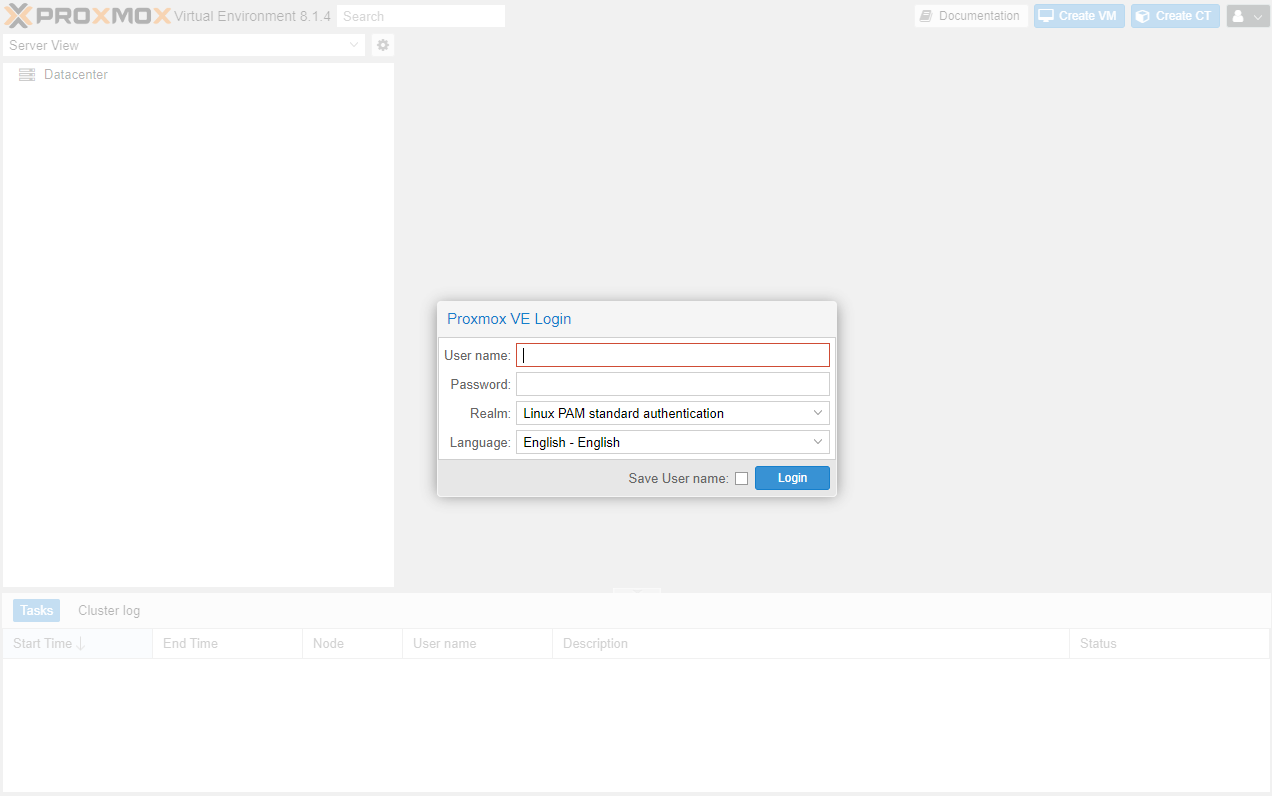
Here is what you should see in the web GUI! The login username is root and the password is the one you choose during the installation.
Congratulations! You have successfully installed the Proxmox Virtual Environment! Continue reading about post installation setup!